Unpacking the MagAO-X Electronics at LCO
This procedure describes how to unpack the MagAO-X electronics rack at LCO.
Estimated Time to Complete: 2 hrs
This document can be downloaded as a PDF: Electronics Rack Unpacking at LCO
Initial Conditions
Electronics rack box is unloaded at LCO
Cleanroom “unpacking room” is clear
Preparations
Obtain a ladder tall enough to reach the top of the (tilted) electronics box
Obtain 2 long ratchet straps to go around the box
Obtain 4x 1 m lifting straps
Assemble the T-shaped lifting fixture
Stage 8 shackles
Prepare Box For Unpacking
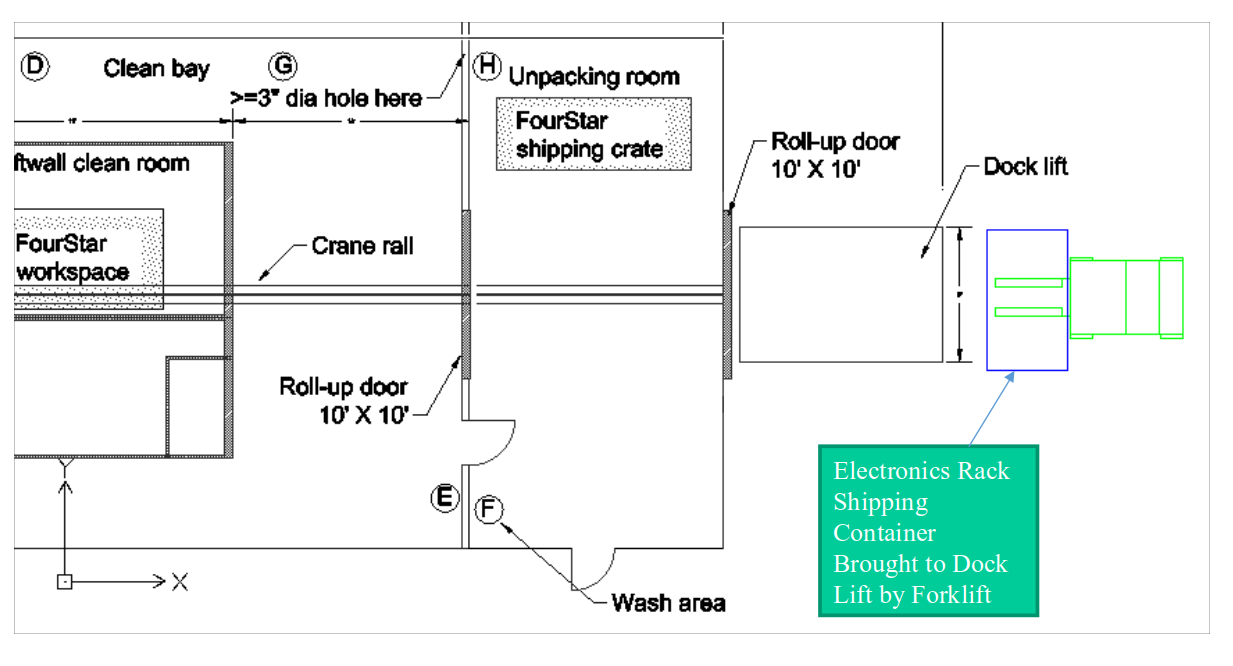
Deliver Electronics Box to the cleanroom unpacking area as shown. It can be brought all the way through the door using the forklift.
Moving the box into the cleanroom
Remove the cover plates on the lifting points
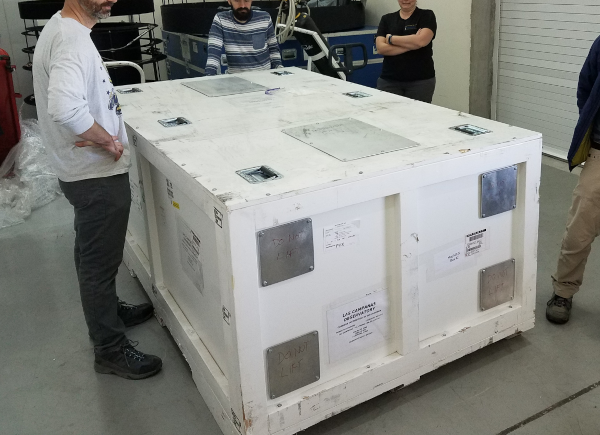
The electronics box staged in the cleanroom unpacking area. Note the covers are still on the lifting points
Reposition the Electronics Box using a pallet jack so that the lid/lifting-points are facing the outside garage door.
Wrap ratchet straps around the box to provide additional structural integrity, as shown below.
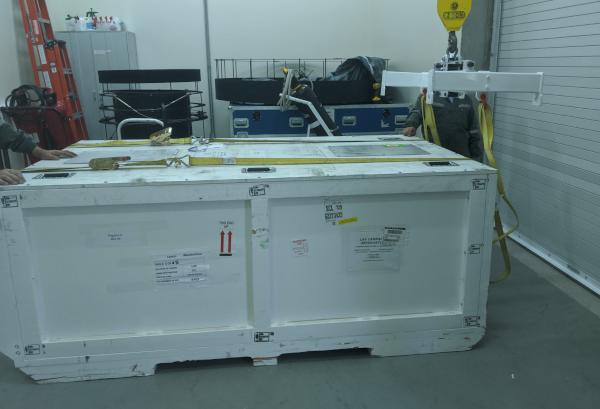
Repositioned for lifting and ratchet straps installed.
Lift the Box
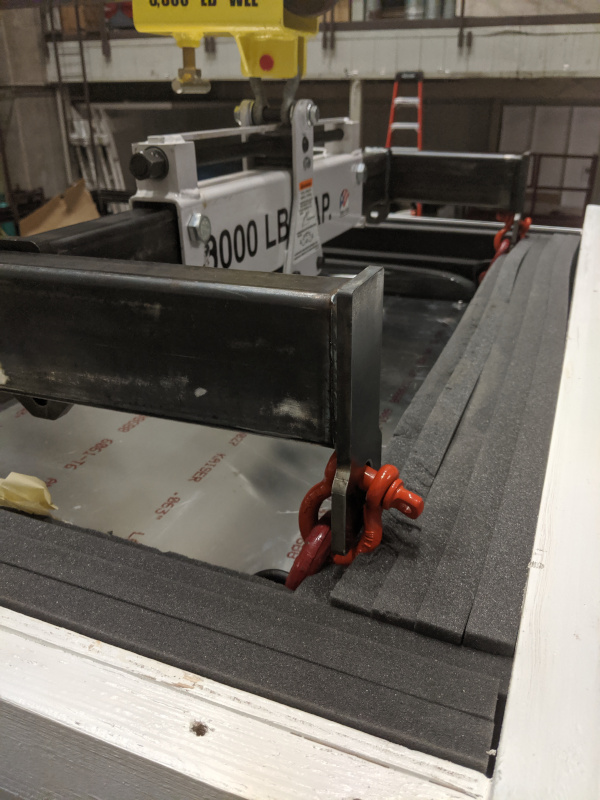
Attach 4x 1 m straps in double pass (to be 0.5 m) to the lifting points on the side, using the center of the lifting fixture. The straps will make a triangle on each side when the lift is complete.
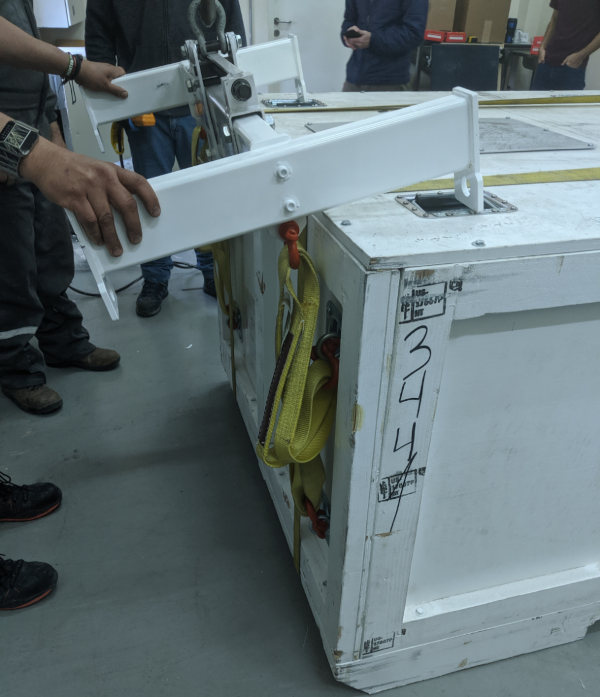
Lifting fixture rigged to box lid.
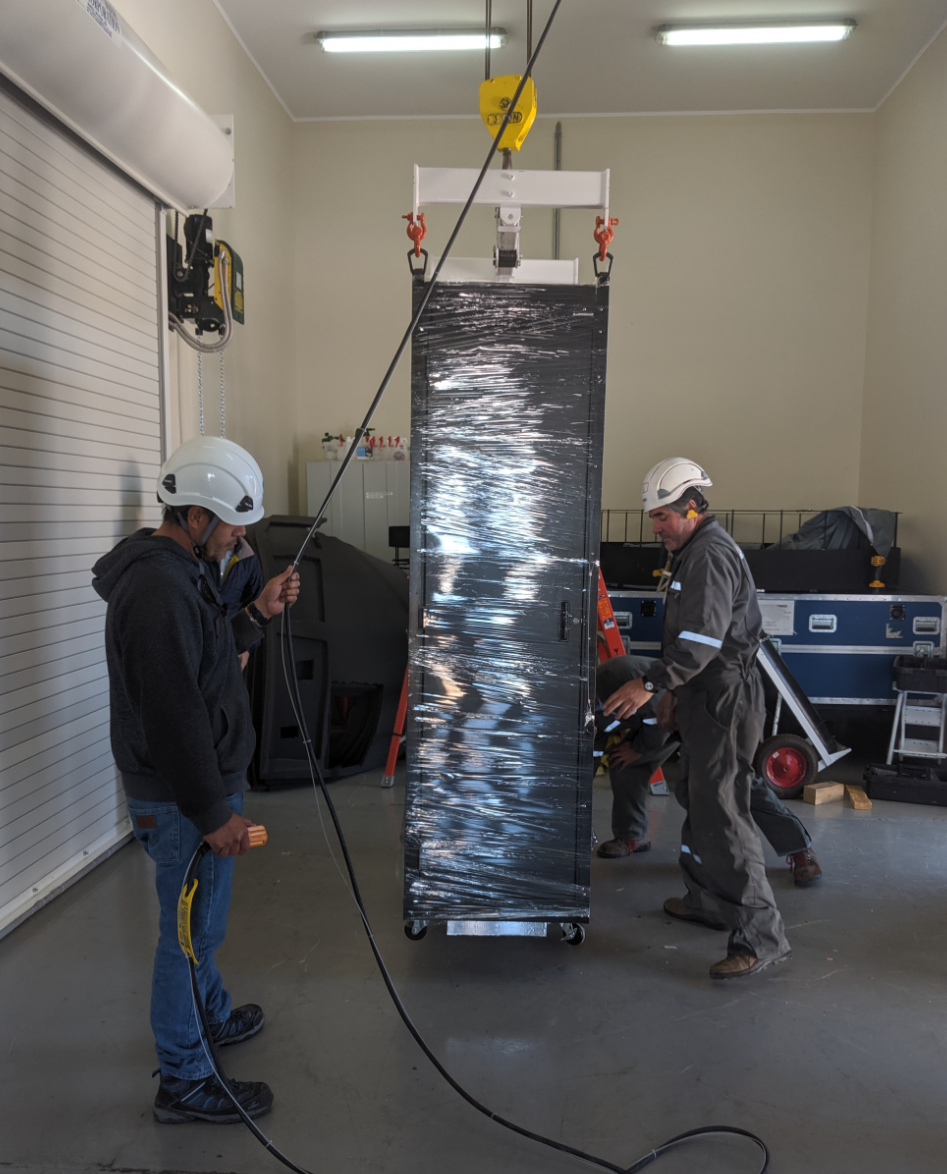
Begin Lifting Box, moving the crane truck as it lifts so that it pivots to upright.
CAUTION: The box should not be lifted off the ground using the lifting rings, these are only for tilting the box while it is contact with the ground.
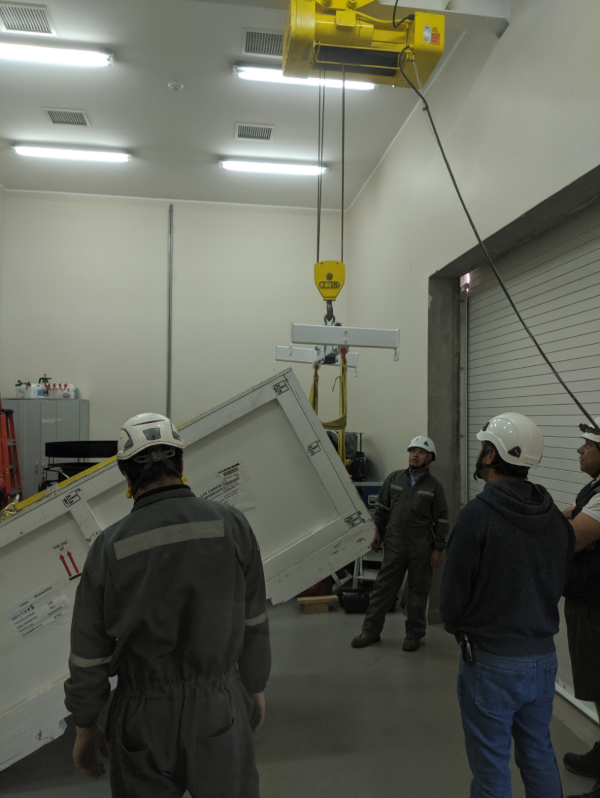
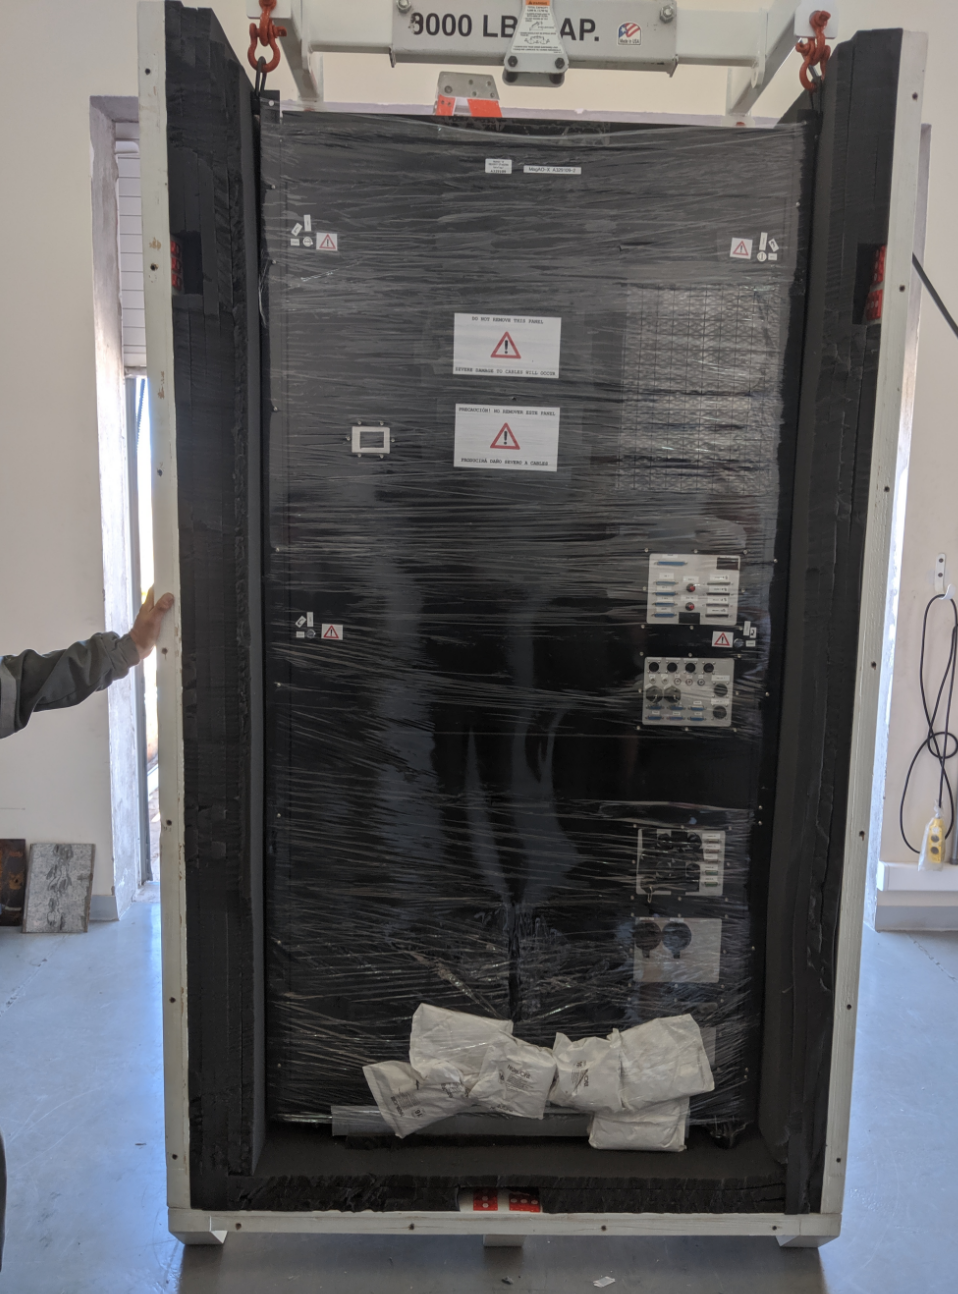
The electronics box being lifted. Note that as it is lifted the crane truck moves to the left.
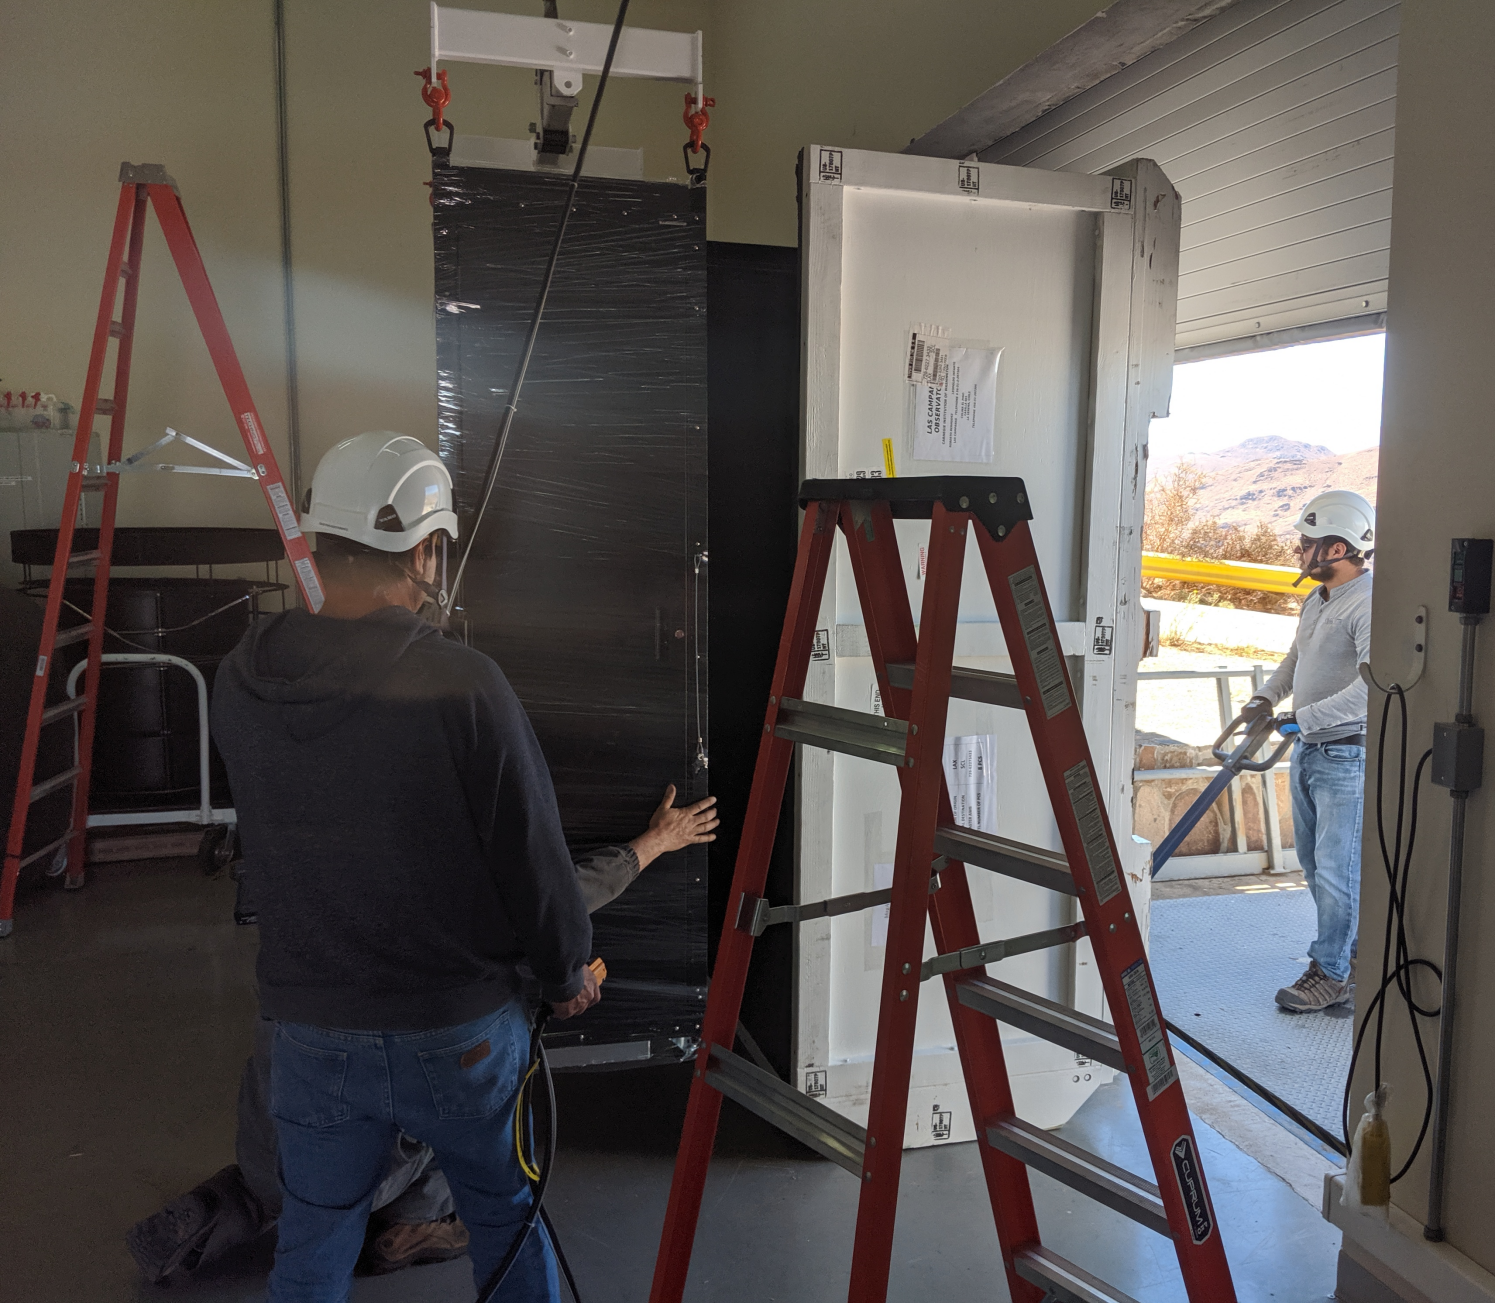
Once it is fully upright, use a pallet jack to reposition the box to other end of room.
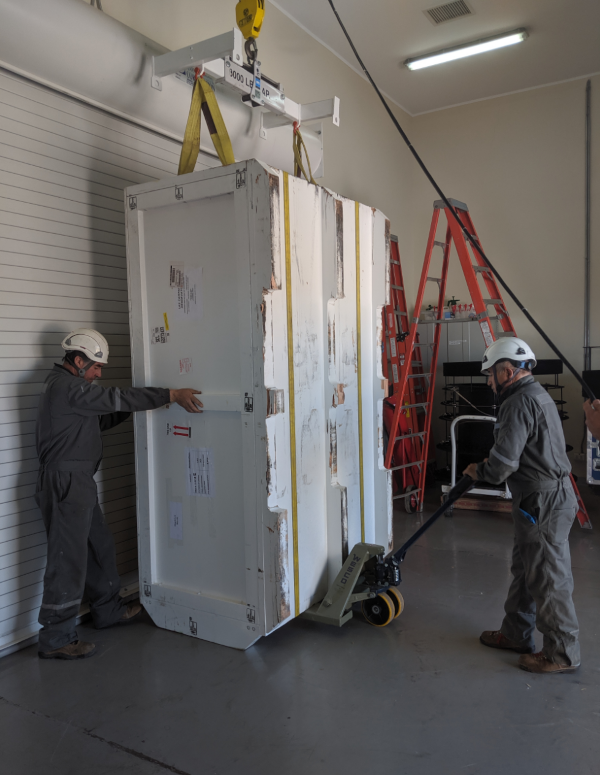
Using a pallet jack to reposition, moving the box to the right towards the outer garage door
Install the braces
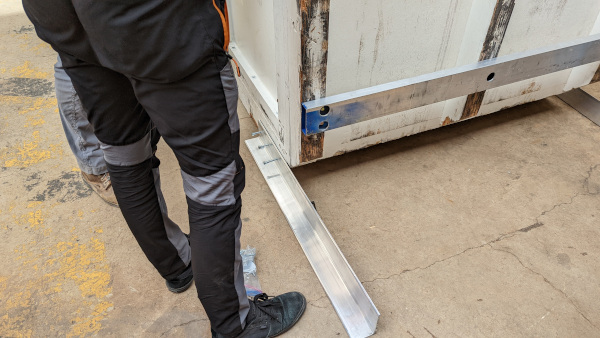
Brace installed
Unbolt the top lid (still attached to crane) and remove it with the crane.
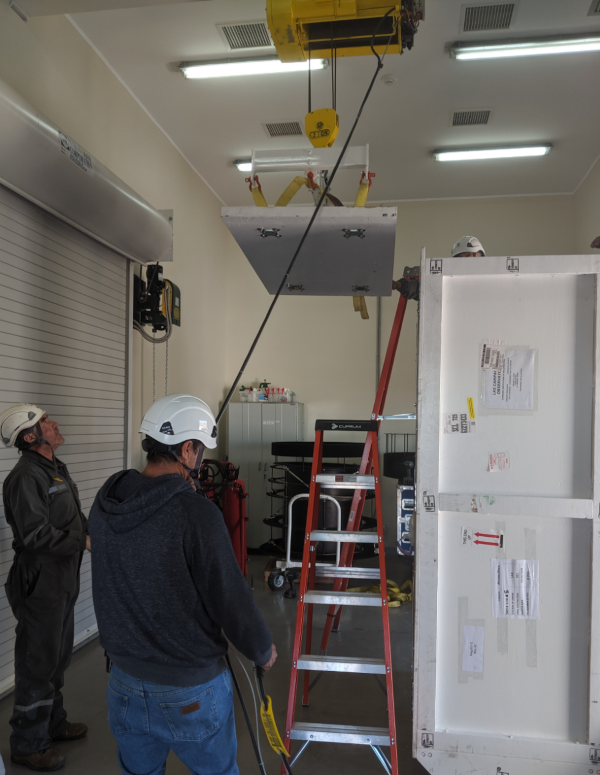
Removing the lid
Remove foam from the top of the rack
Remove straps from the lid and place it out of the way
Remove the Rack
Attach the lifting fixture to the electronics rack lift points, so that the crane is supporting the rack. This is so that the rack can not tip out of the box on its own.
Attaching the lifting fixture to the rack using double shackles
CAUTION: removing the side panel should only be done with the rack supported by the crane.
Remove all bolts on the side panel but two near the top.
With 2 workers holding the panel, remove the final two bolts. Place the panel out of the way.
Remove the foam and place it out of the way.
After the side is removed and the foam is removed.
After removing the foam on the side of the box, lift the rack out of the box and set it on its wheels.
CAUTION: at least 2 workers should be on hand to steady the box and guide the rack out.
The rack being removed from the box.
Setting the Rack down.
Stow the Box
Place foam back inside
Attach side panel, attach all bolts.
Attach lid using crane.
Tilt the box back down using the inverse of the above procedure. When empty, the ratchet straps do not need to be used.