The steps below assume that the steps in System Startup are complete. This will
generally be the instrument state on a daily basis.
Ensure MagAO-X processes are started on AOC, ICC and RTC. We do this by running xctrl status on each machine.
# starting with AOC:
[xsup@exao1 ~]$ xctrl status
# verify processes are all green/running
# next on ICC:
[xsup@exao1 ~]$ ssh icc
[xsup@exao3 ~]$ xctrl status
# verify processes are all green/running
[xsup@exao3 ~]$ exit
# now for RTC:
[xsup@exao1 ~]$ ssh rtc
[xsup@exao2 ~]$ xctrl status
# verify processes are all green/running
[xsup@exao2 ~]$ exit
A useful further check is to run getINDI on each machine to verify that INDI server is communicating.
Note
All software on all machines should be up and running with good INDI communications. If it is not you can not begin to power up because you won’t be able to observe what happens.
Ensure that you have working GUIs which are connected to INDI.
Note
This must include a display of the log stream that you are able to see at all times.
On the pwrGUIninja tab, verify the following items are on:
pdu3.blower
pdu3.rackfans
pdu3.instCool
usbdu0.rhtweeter
usbdu1.rhncpc
Warning
If any of these indicate off, stop and investigate. These are safety issues and you should not go on.
On the pwrGUIninja tab, verify that the following items are on:
pdu0.dcpwr
pdu0.compicc
pdu0.comprtc
Note
If any of these are off, the instrument probably won’t work.
Warning
You must be monitoring the relative humidity for dmtweeter and dmncpc any time their power is on.
Use the pwrGUI to power up the MagAO-X components
Verify that humidity for both rhtweeter and rhncpc are below 15%.
Note
The most foolproof way to get the latest measurements is running getINDIrhtweeterrhncpc on AOC. They are also reported on the data dashboard and as an overlay on the rtimv DM viewers.
On the user tab power everything on.
camvisx and stageff can be left off if not needed
camacq and flipacq are only used on-sky
If you are using GMT HCAT, all devices on pduhcat can be powered on (you won’t see this at LCO)
If you plan to use either camflowfs or camllowfs, check their power in the ninja tab. If they are not powered up:
begin with both cameras powered off
on exao3/ICC: xctrlshutdowncamflowfscamllowfs
power on one or both cameras
as a non-xsup user, on exao3/ICC, run sudo/opt/pvcam/drivers/in-kernel/pcie/hotplug_pcie.sh, verify the number of “active cameras” it reports
on exao3/ICC: xctrlstartupcamflowfscamllowfs
Once power up is complete, switch to lab mode by running the xlabmode script as xsup on aoc:
# Run on AOC:
[xsup@exao1 ~]$ xlabmode
This will move stagepickoff to the lab position and ensure the ADCs and K-mirror are in the correct position.
Home the zaber stages:
On the ninja tab of pwrGUI power-on pdu2.stagezaber and usbdu1.stagezaber
In cursesINDI toggle the zaberLowLevel.home_all.request switch
Turn on usbdu1.stagepollin in the ninja tab, then use cursesINDI toggle the zaberLowLevelBinary.home_all.request switch
Wait for all stages to be in state READY (this does NOT include stageff or the polarimetry stage)
On the ninja tab, power off pdu2.stagezaber, usbdu1.stagezaber and usbdu1.stagepollin(You can leave them on if you’re going to use them in a second for alignment.)
Set the flat on the dmwoofer, dmtweeter, and dmncpc.
Now on the Alignment GUI:
set the pyramid modulator under “Modulation”
set TTM Pupil
set TTM Peri
Optional, but recommended Set the toggles on sysMonRTC.set_latency.toggle and sysMonICC.set_latency.toggle to “On” using cursesINDI.
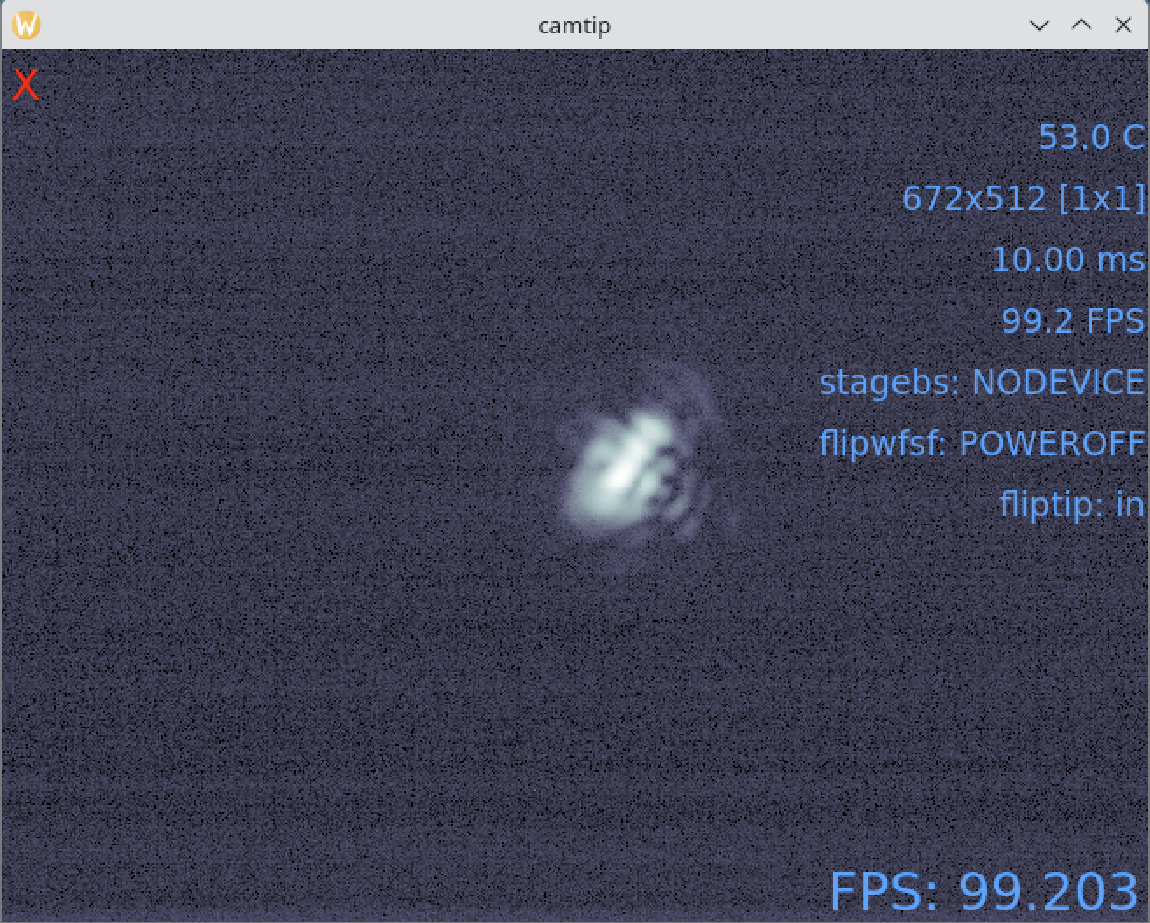
At this point you should see a PSF image on camtip, probably with a fair amount of aberration.
If you do not see anything, use the system block diagram to troubleshoot. Consider:
Is the source powered on? Does the power GUI look like everything you need is on?
Did you run xlabmode? Is stagepickoff in the correct position (lab)?
Is flipwfsf in the beam? It may cut out so much light that camtip appears dark.
Is fwtelsim in VisOpen and a visible-light-blocking element in the beam? The ha-ir beamsplitter or flipwfsf filter could block the beam upstream of fliptip.
Setup camwfs using the camwfsCtrl GUI:
set the FPS to the desired loop speed (for the default calibration, 2000 Hz)
toggle synchro to “on”
close the shutter
take a dark
open the shutter
On the Alignment GUI, under “Modulation”:
input the Frequency [Hz] (for the default calibration, that is 2000 Hz) and hit enter
input the Radius [l/D] (for default, 3 lambda/D) and hit enter
Note that your newly entered values won’t appear until modulation begins.
click Modulate
the status text should change to CONFIGURING. Wait for it to say MODULATING.
confirm that the PSF on camtip has become a donut
The cameras with temperature control will start cooling themselves down immediately on software startup, and should be cold by now. Check on them.
Optional, but recommended Set the toggles on sysMonRTC.set_latency.toggle and sysMonICC.set_latency.toggle to “On”.
Setup CACAO for closing the high-order loop as in CACAO Setup